前言
主流的安卓APP,首页经常会采用底部导航栏切换的效果。针对这种情况,封装成TabView工具类,方便大家使用。
一、界面分析
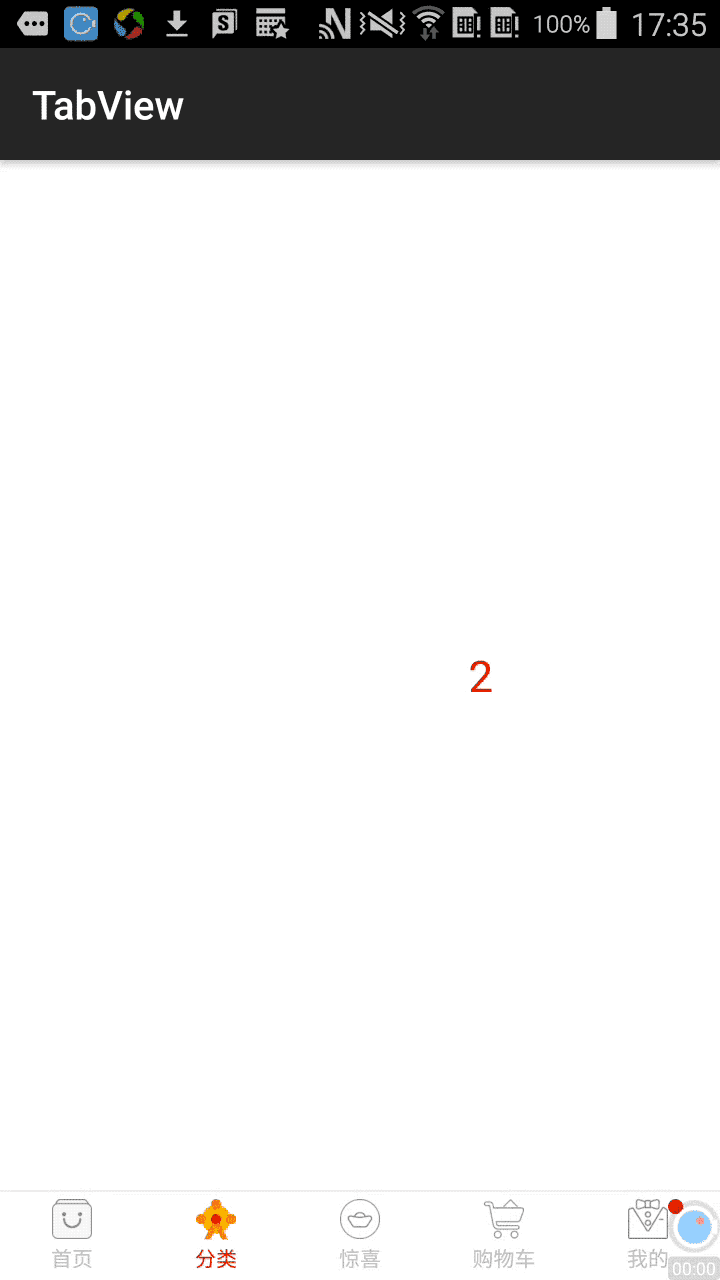
- 上图的效果,我们可以判断出界面是由viewpager+fragment+底部Tab实现。
二、开始撸码
只贴出了核心代码,具体请查看我的GitHub,记得点颗✨哦!
1. 实现底部的Tab,自定义TabContainerView 继承 RelativeLayout,这是我们最终封装的View工具类。其内部主要由viewpager和底部的TabHost类组成。
ViewPager初始化
 contentViewPager = new ViewPager(context);
        LayoutParams contentVpLp = new LayoutParams(ViewGroup.LayoutParams.MATCH_PARENT, ViewGroup.LayoutParams.MATCH_PARENT);
        contentVpLp.addRule(RelativeLayout.ABOVE, R.id.divide_tab);
        contentViewPager.setLayoutParams(contentVpLp);
        contentViewPager.setId(R.id.viewpager_tab);

        contentViewPager.addOnPageChangeListener(new ViewPager.OnPageChangeListener() {
            @Override
            public void onPageScrolled(int position, float positionOffset, int positionOffsetPixels) {
            }

            @Override
            public void onPageSelected(int position) {
                tabHost.onChangeTabHostStatus(position);
                Tab selectedTab = tabHost.getTabForIndex(position);
                if (onTabSelectedListener != null && selectedTab != null) onTabSelectedListener.onTabSelected(selectedTab);
            }

            @Override
            public void onPageScrollStateChanged(int state) {
            }
        });

        addView(contentViewPager);
底部Tab是一个自定义的横向布局LinearLayout,动态添加多个宽度等分的Tab按钮
 for (int i = 0; i < count; i++) {
            if((i+1)==hasMsgIndex){
                hasMsg=true;
            }
            Tab tab = new Tab(context, textArray[i], textSize, textColor, selectedTextColor,drawablePadding,iconWidth,iconHeight, iconImageArray[i], selectedIconImageArray[i], i,hasMsg);
            addTab(tab);
        }
tab按钮的实现
 rootView = new LinearLayout(context);
        childView=new RelativeLayout(context);
        LinearLayout.LayoutParams rootViewLp = new LinearLayout.LayoutParams(ViewGroup.LayoutParams.MATCH_PARENT, ViewGroup.LayoutParams.WRAP_CONTENT);
        rootViewLp.weight = 1;
        rootView.setOrientation(LinearLayout.VERTICAL);
        rootView.setPadding(0,20,0,20);
        rootView.setLayoutParams(rootViewLp);
        textTextView = new TextView(context);
        iconImageView = new ImageView(context);

        /**
         *  icon view
         */
        iconImageView.setImageResource(iconImage);
        RelativeLayout.LayoutParams iconParam=new RelativeLayout.LayoutParams(iconWidth==0? ViewGroup.LayoutParams.WRAP_CONTENT:iconWidth,iconHeight==0? ViewGroup.LayoutParams.WRAP_CONTENT:iconHeight);
        iconParam.addRule(RelativeLayout.CENTER_HORIZONTAL);
        iconImageView.setLayoutParams(iconParam);
        iconImageView.setId(index+1);
        childView.addView(iconImageView);

        /**
         *  text view
         */
        textTextView.setText(text);
        textTextView.setTextColor(textColor);
        textTextView.setTextSize(TypedValue.COMPLEX_UNIT_PX,textSize);
        textTextView.setPadding(0,drawablePadding,0,0);
        RelativeLayout.LayoutParams txParam=new RelativeLayout.LayoutParams(RelativeLayout.LayoutParams.WRAP_CONTENT, RelativeLayout.LayoutParams.WRAP_CONTENT);
        txParam.addRule(RelativeLayout.BELOW,childView.getChildAt(0).getId());
        txParam.addRule(RelativeLayout.CENTER_HORIZONTAL);
        textTextView.setLayoutParams(txParam);
        childView.addView(textTextView);


        if(hasMsg){
            ImageView circleView=new ImageView(context);
            RelativeLayout.LayoutParams param = new RelativeLayout.LayoutParams(30,30);
            param.addRule(RelativeLayout.RIGHT_OF,iconImageView.getId());
            circleView.setBackgroundResource(R.drawable.common_red_round);
            circleView.setLayoutParams(param);
            childView.addView(circleView);
        }
        RelativeLayout.LayoutParams childParam=new RelativeLayout.LayoutParams(ViewGroup.LayoutParams.MATCH_PARENT, ViewGroup.LayoutParams.MATCH_PARENT);
        childView.setLayoutParams(childParam);
       rootView.addView(childView);
三、使用方法
- 布局中引用
<com.chenxi.tabview.widget.TabContainerView
        android:id="@+id/tab_container"
        android:layout_width="match_parent"
        android:layout_height="match_parent"
        app:tabTextColor="@color/bottom_icon_up"
        app:selectedTextColor="@color/common_red"
        app:tabTextSize="12sp"
        app:drawablePadding="1dp"
        app:iconHeight="22dp"
        app:iconWidth="22dp"
        app:divideLineColor="@color/common_line_two"
        app:divideLineHeight="0.3dp"/>
- ACTIVITY中引用
 TabContainerView tabContainerView = (TabContainerView) findViewById(R.id.tab_container);
        MainViewAdapter mainViewAdapter=new MainViewAdapter(getSupportFragmentManager(),
                new Fragment[] {new TabFragment1(), new TabFragment2(),new TabFragment3(), new TabFragment4(),new TabFragment5()});
        mainViewAdapter.setHasMsgIndex(5);
        tabContainerView.setAdapter(mainViewAdapter);
        tabContainerView.setOnTabSelectedListener(new OnTabSelectedListener() {
            @Override
            public void onTabSelected(Tab tab) {

            }
        });
- 布局自定义属性介绍
tabTextSize:导航按钮字体大小
drawablePadding:导航图片与文字的间距
iconHeight: 导航图标高度
iconWidth:导航图标宽度
divideLineColor:导航栏顶部分割线颜色
divideLineHeight:导航栏顶部分割线高度
- 设置消息提醒(导航按钮旁边的红点)
setHasMsgIndex(5); //第五个导航按钮有消息提醒


网友评论