目录
- 前言
- ObjectAnimator的初步使用
- 用AnimatorSet进行动画混合
- 将动画写在xml中
- 动画监听
- ViewPropertyAnimator上手
- 最后
前言
属性动画是非常非常好用的, 谷歌自己都说这是一个强大的框架. 那今天就来了解一下它.
ObjectAnimator的初步使用
属性动画最大的特点就是可以让任何Object动起来, 我先给个小栗子, 大家感受一下.
TextView tvTest = (TextView) findViewById(R.id.tv_test);
float curTranslationY = tvTest.getTranslationY();
ObjectAnimator animator
        = ObjectAnimator.ofFloat(tvTest, "translationY",
        curTranslationY, curTranslationY + 100f);
animator.setDuration(2000);
animator.start();
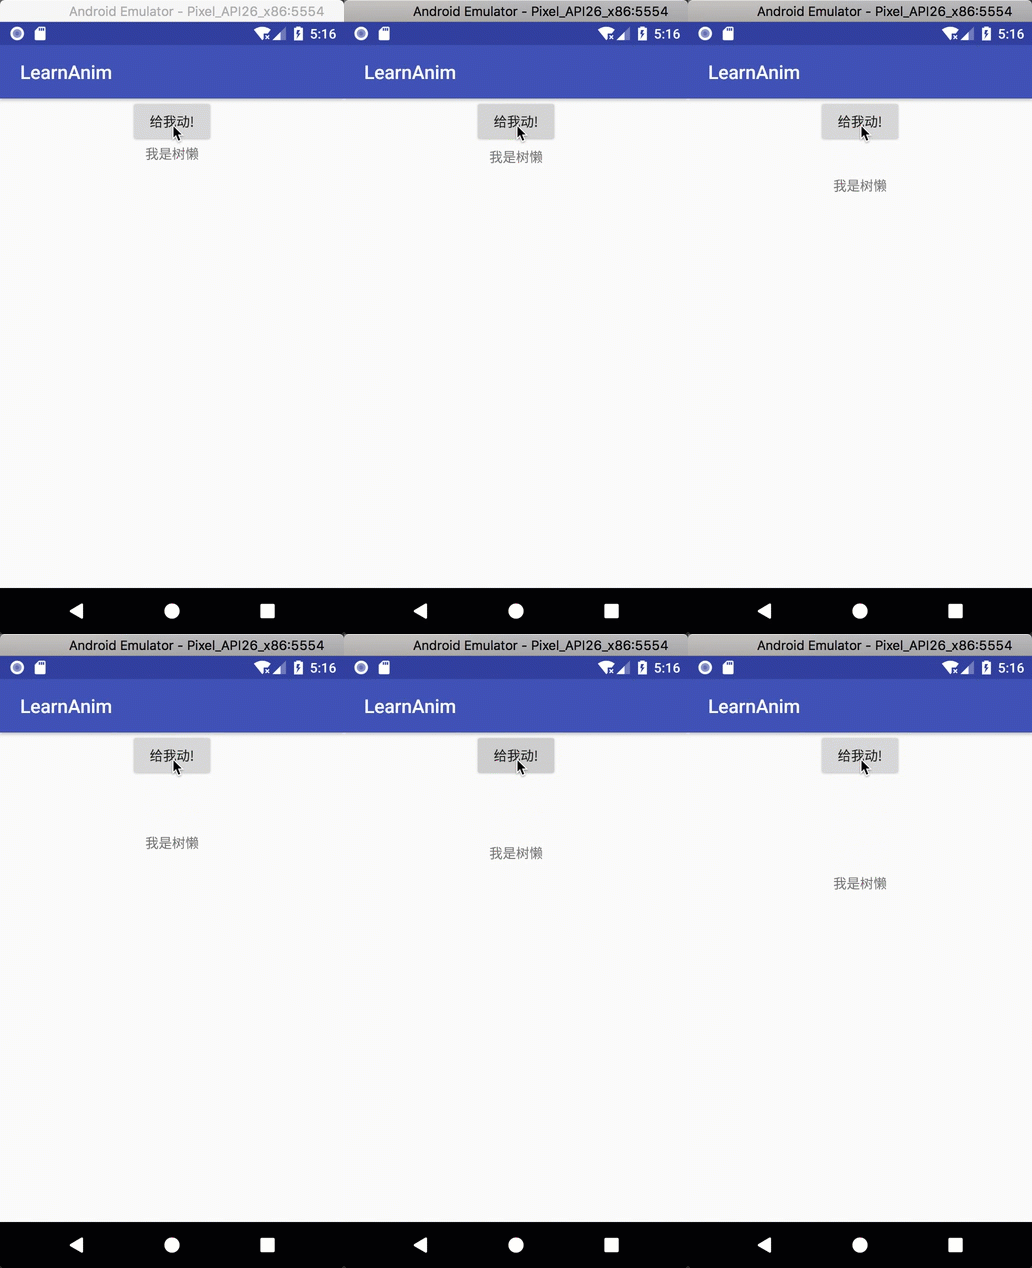 栗子
栗子
属性动画有个很重要的点就是说, 动画过后, 控件本身真的就变换了, 而不单单是绘制出了效果.
然后这里
ofFloat()函数的第一个参数自然是控件了, 第二个参数是可以填入很多的, 比如"alpha", "rotation", 到底有多少, 大家可以移步官方文档. 然后后面的参数根据第二个参数来, 可多个, 这里可能说的不太清晰, 所以我们再来一个小栗子.
TextView tvTest = (TextView) findViewById(R.id.tv_test);
ObjectAnimator animator
        = ObjectAnimator.ofFloat(tvTest, "alpha",
        1f, 0f, 1f, 0f, 1f, 0f, 1f);
animator.setDuration(2000);
animator.start();
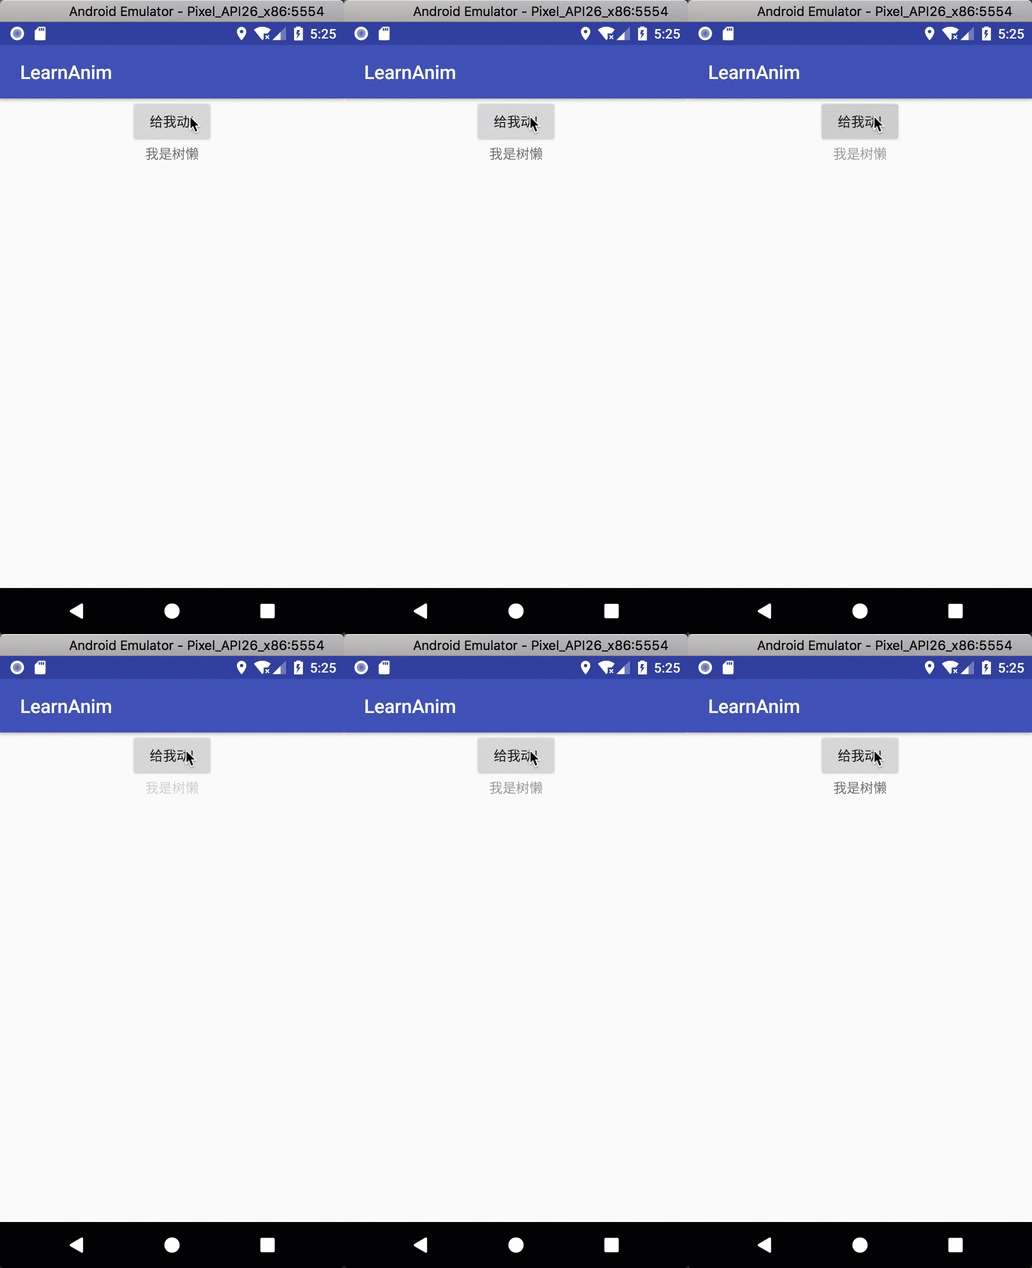 又见栗子
又见栗子
用AnimatorSet进行动画混合
一般来说, 让人感觉舒服的动画都不会是单一变换的动画, 肯定要各种动画混合一起, 来达到某种效果. 我这里进行一些混合的尝试, 顺便再展示几种动画.
// 垂直移动
float curTranslationY = tvTest.getTranslationY();
ObjectAnimator translationY
        = ObjectAnimator.ofFloat(tvTest, "translationY",
        curTranslationY, curTranslationY + 500f);

ObjectAnimator scaleY = ObjectAnimator.ofFloat(tvTest, "scaleY", 1f, 5f, 1f);
ObjectAnimator scaleX = ObjectAnimator.ofFloat(tvTest, "scaleX", 1f, 5f, 1f);

AnimatorSet animSet = new AnimatorSet();
animSet.play(scaleY).with(scaleX).after(translationY);
animSet.setDuration(2000);
animSet.start();
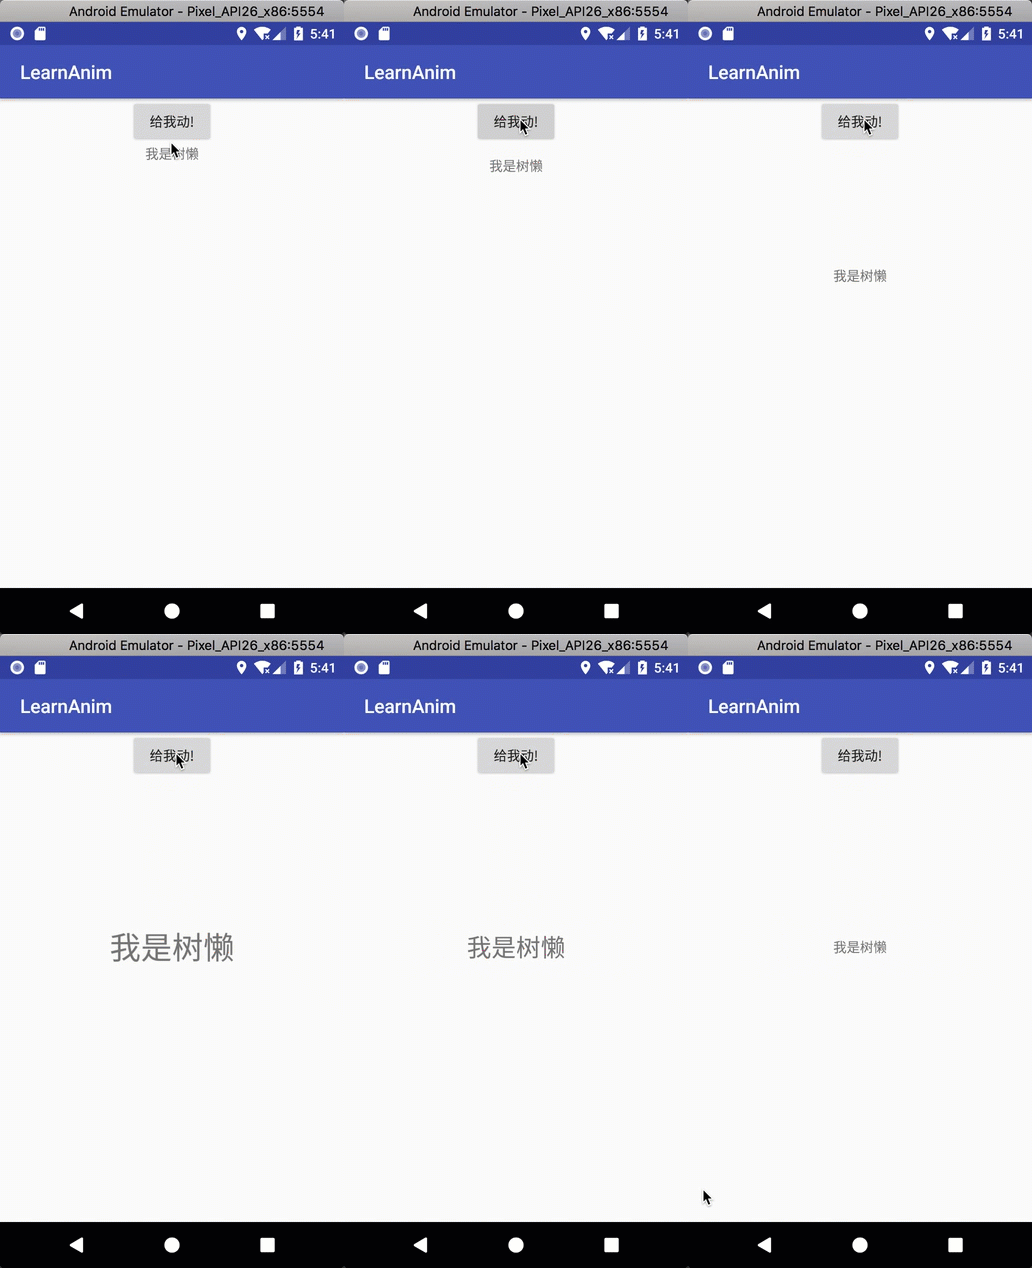 混合动画
混合动画
这里就是将垂直移动动画, 水平缩放和垂直缩放混合在一起, 大家肯定发现了,
play(),with(),after()这几个函数.
- after(Animator anim) after中的动画先执行, 之后才是play中的动画.
- after(long delay) after中设置时间, 那么play中的动画会根据时间延迟执行.
- before(Animator anim) before中的动画后执行, play中的先执行.
- with(Animator anim) play中的动画和with中的一同执行.
- playTogether() 中间可以放入要一起执行的全部动画, 之后不可接after(), before()这些函数. 来个小栗子.
AnimatorSet animSet = new AnimatorSet();
animSet.playTogether(translationY, scaleX, scaleY);
animSet.setDuration(2000);
animSet.start();
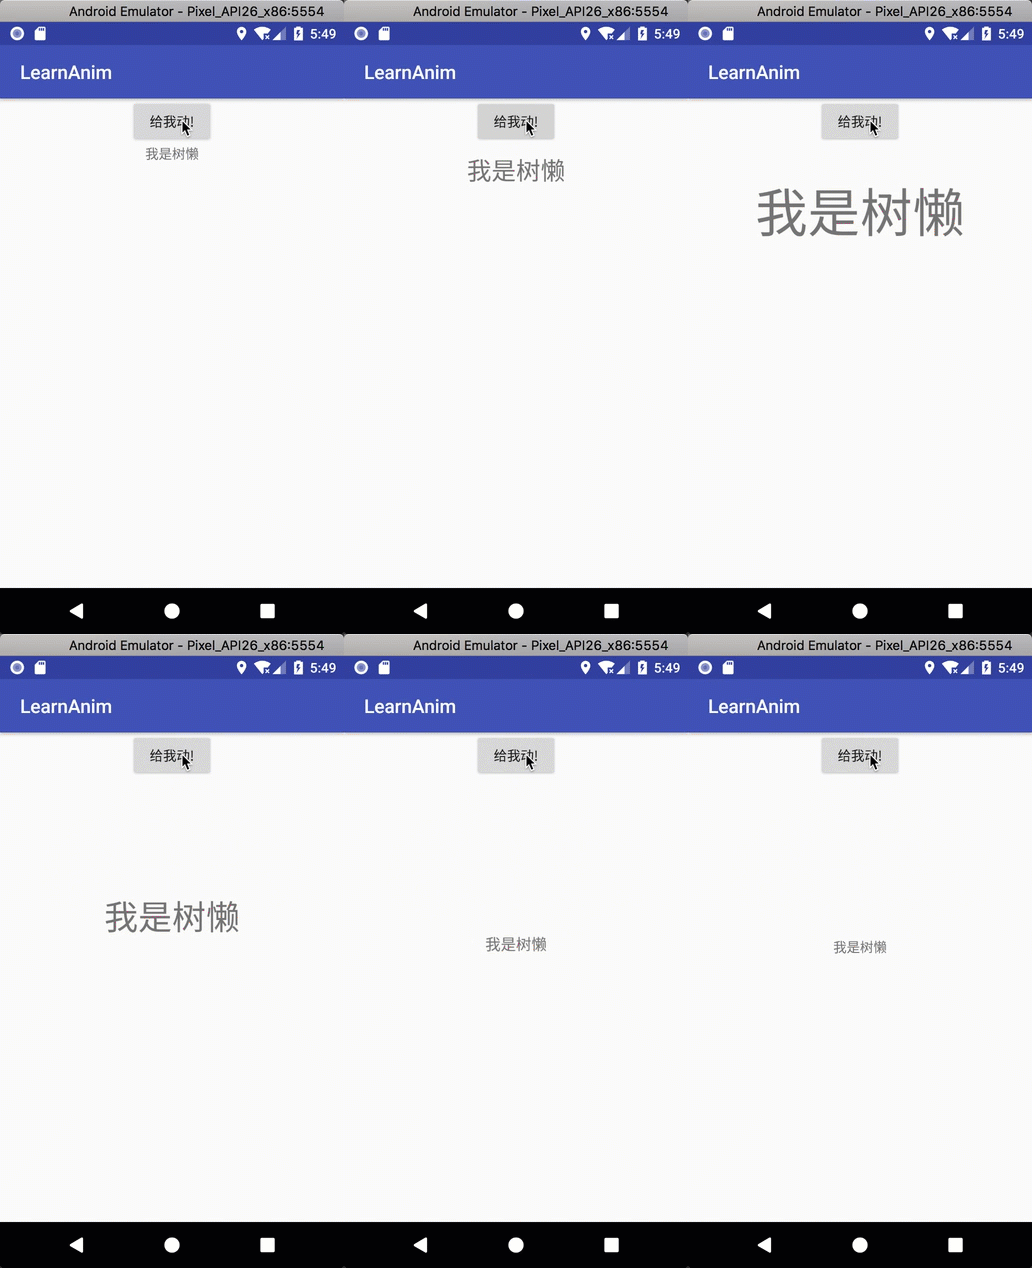 动画混合
动画混合
将动画写在xml中
写在xml中的好处不言而喻了, 复用性极强. 直接贴代码了, 很好理解的.
<set xmlns:android="http://schemas.android.com/apk/res/android"
    android:ordering="sequentially">

    <objectAnimator
        android:duration="1000"
        android:propertyName="translationY"
        android:valueFrom="0"
        android:valueTo="500"
        android:valueType="floatType" />

    <set android:ordering="sequentially">
        <objectAnimator
            android:duration="1000"
            android:propertyName="rotation"
            android:valueFrom="0"
            android:valueTo="360"
            android:valueType="floatType" />

        <set android:ordering="together">
            <objectAnimator
                android:duration="1000"
                android:propertyName="scaleX"
                android:valueFrom="1"
                android:valueTo="5"
                android:valueType="floatType" />
            <objectAnimator
                android:duration="1000"
                android:propertyName="scaleY"
                android:valueFrom="1"
                android:valueTo="5"
                android:valueType="floatType" />
        </set>
    </set>
</set>
然后使用如下代码调用xml动画.
AnimatorSet set = (AnimatorSet) AnimatorInflater.loadAnimator(getApplicationContext(), R.animator.anim_set);
set.setTarget(tvTest);
set.start();
动画监听
动画监听是很有必要知道的, 我们是在做软件, 不是在做电影, 不能让它一个劲播下去. 先看一个比较全面的监听.
translationY.addListener(new Animator.AnimatorListener() {
    @Override
    public void onAnimationStart(Animator animation) {

    }

    @Override
    public void onAnimationEnd(Animator animation) {

    }

    @Override
    public void onAnimationCancel(Animator animation) {

    }

    @Override
    public void onAnimationRepeat(Animator animation) {

    }
});
这个很麻烦啦, 所以有适配版本的监听. 如果你用Android Studio它会弹出框让你选择.
 选择复写的函数
translationY.addListener(new AnimatorListenerAdapter() {
    @Override
    public void onAnimationEnd(Animator animation) {
        super.onAnimationEnd(animation);
    }
});
ViewPropertyAnimator上手
属性动画是谷歌在android3.0引入的, 而ViewPropertyAnimator则是3.1引入的, 这个ViewPropertyAnimator绝对可以说是个磨人的小妖精, 它绝对会让你爱上属性动画的, 看个栗子:
tvTest.animate().translationY(curTranslationY + 500)
        .scaleX(5).scaleY(5)
        .setDuration(1000);
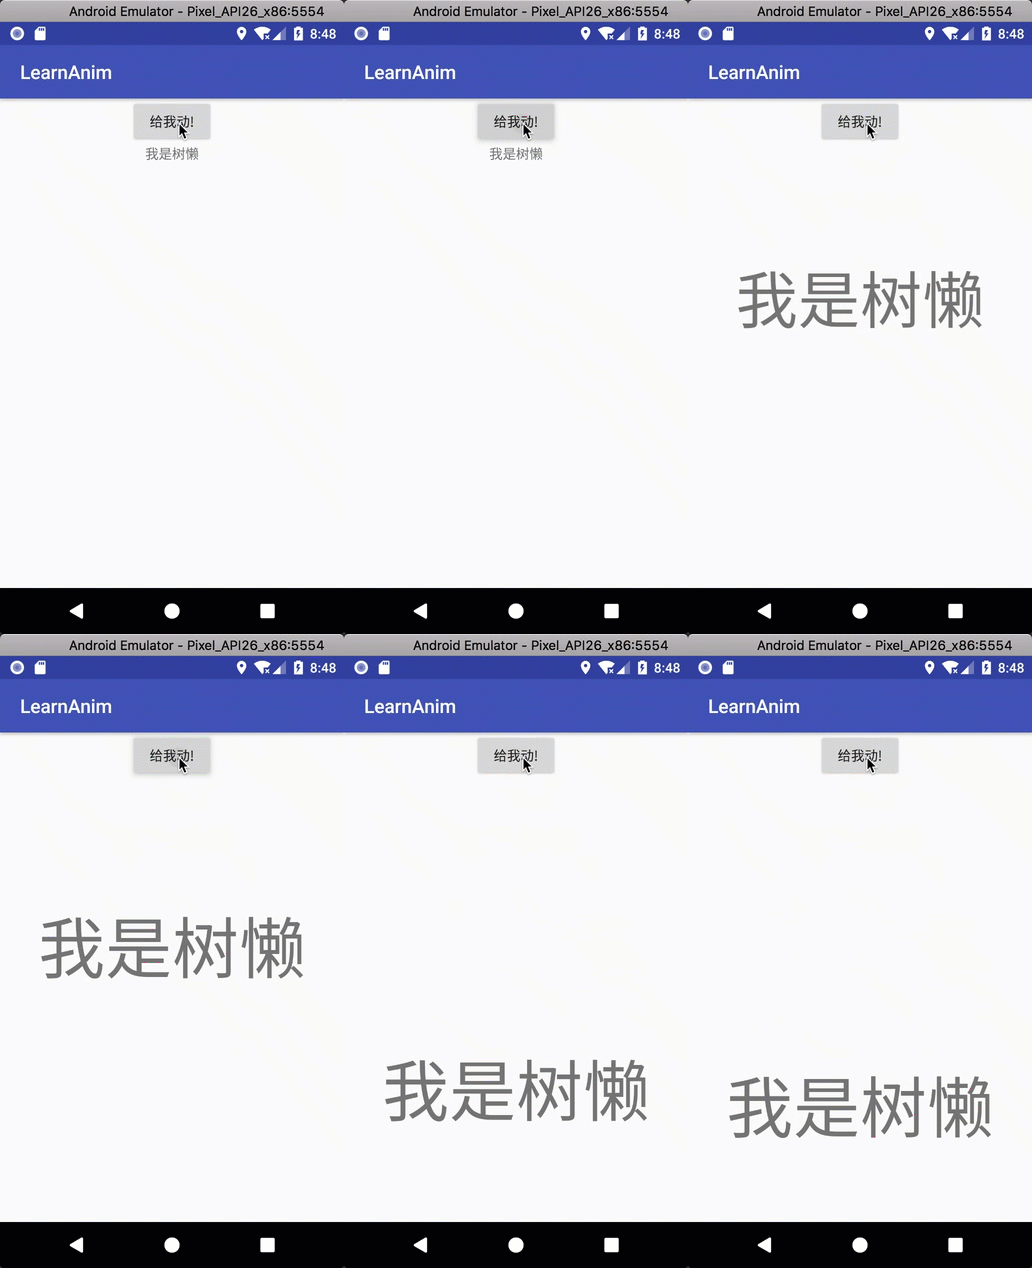 ViewPropertyAnimator栗子
用ViewPropertyAnimator的目的就是精简代码以及快速实现, 想要处理一些复杂的动画, 还是要用上一篇说的内容慢慢来的(滑稽脸).
我们稍微修改一点代码, 看看新效果.
tvTest.animate().translationYBy(250)
        .scaleX(5).scaleY(5)
        .setDuration(1000);
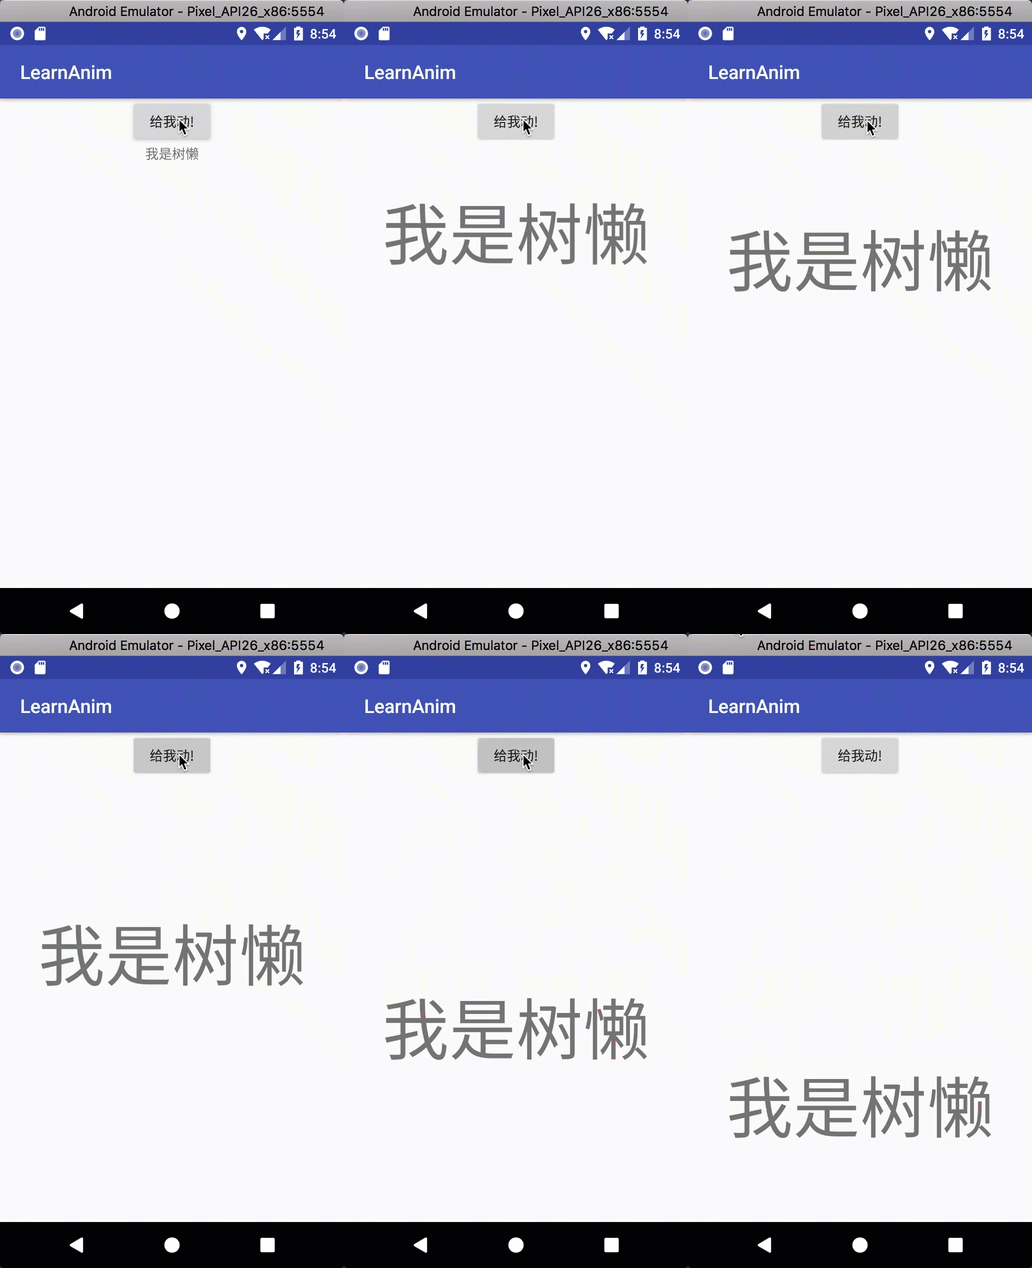 By不By
By不By
其实可以看函数就看得出来意思了, 不加By代表直接移动某个值, 加了By代表在原有基础上移动某个值.
好, 我们再来看一个及其经典的代码, 可以完美展现出ViewPropertyAnimator的精简好用:
view.animate()// 获取ViewPropertyAnimator对象
        // 动画持续时间
        .setDuration(5000)

        // 透明度
        .alpha(0)
        .alphaBy(0)

        // 旋转
        .rotation(360)
        .rotationBy(360)
        .rotationX(360)
        .rotationXBy(360)
        .rotationY(360)
        .rotationYBy(360)

        // 缩放
        .scaleX(1)
        .scaleXBy(1)
        .scaleY(1)
        .scaleYBy(1)

        // 平移
        .translationX(100)
        .translationXBy(100)
        .translationY(100)
        .translationYBy(100)
        .translationZ(100)
        .translationZBy(100)

        // 更改在屏幕上的坐标
        .x(10)
        .xBy(10)
        .y(10)
        .yBy(10)
        .z(10)
        .zBy(10)

        // 插值器
        .setInterpolator(new BounceInterpolator())//回弹
        .setInterpolator(new AccelerateDecelerateInterpolator())//加速再减速
        .setInterpolator(new AccelerateInterpolator())//加速
        .setInterpolator(new DecelerateInterpolator())//减速
        .setInterpolator(new LinearInterpolator())//线性

        // 动画延迟
        .setStartDelay(1000)

        //是否开启硬件加速
        .withLayer()

        // 监听
        .setListener(new Animator.AnimatorListener() {
            @Override
            public void onAnimationStart(Animator animation) {
            }

            @Override
            public void onAnimationEnd(Animator animation) {
            }

            @Override
            public void onAnimationCancel(Animator animation) {
            }

            @Override
            public void onAnimationRepeat(Animator animation) {
            }
        })

        .setUpdateListener(new ValueAnimator.AnimatorUpdateListener() {
            @Override
            public void onAnimationUpdate(ValueAnimator animation) {
            }
        })

        .withEndAction(new Runnable() {
            @Override
            public void run() {
            }
        })
        .withStartAction(new Runnable() {
            @Override
            public void run() {
            }
        });
所以日常动画用它就足够了.
最后
有了属性动画, 界面就不会很死板了. 而且由于属性动画的特性, 让它可以完成动画部分的事, 甚至可以完成很多界面交互上的事. 喜欢记得点赞或者关注我哦.


网友评论